*Simple changes to create a small bathroom makeover can make a big impact. A bold print and bright paint can truly change a room.
It’s easy to move into a home or an apartment and just let things stay the way they are. It’s also just as easy to paint, design or arrange something in the home and let it remain that way for the duration. If that’s the case, I hope it’s because you so perfectly got it absolutely right the first time, versus just settling for a look because you don’t feel like changing it.
I can however fully relate to the settling, especially if there are a ton of projects in the home that need to be tackled, which was the case for our home. Some things got done, others had to wait because of the overwhelming exhaustion of all the things. I have to say though, when you do take a step to make a change, even a small one, it certainly enhances the fervor of wanting to tackle whatever may be next on the list.
Small Bathroom Makeover
When we moved into our home, the downstairs guest bathroom was the standard dusty yellowish/beige-ish color that builders put into apartments and builder grade homes. It was simple, neutral, nothing to brag about and clearly nothing to snap a photo of because I could not seem to locate one. It’s name is just as dull as the color ‘Builder Beige’. So yes, it was that. Now, I’m absolutely a fan of neutral colors but for some reason, that builder beige look just screams 70’s homes in my opinion. It gives off dingy to me. Now, I don’t know if homes built in the 70’s rocked that look, but in my head they did. Not A Fan.
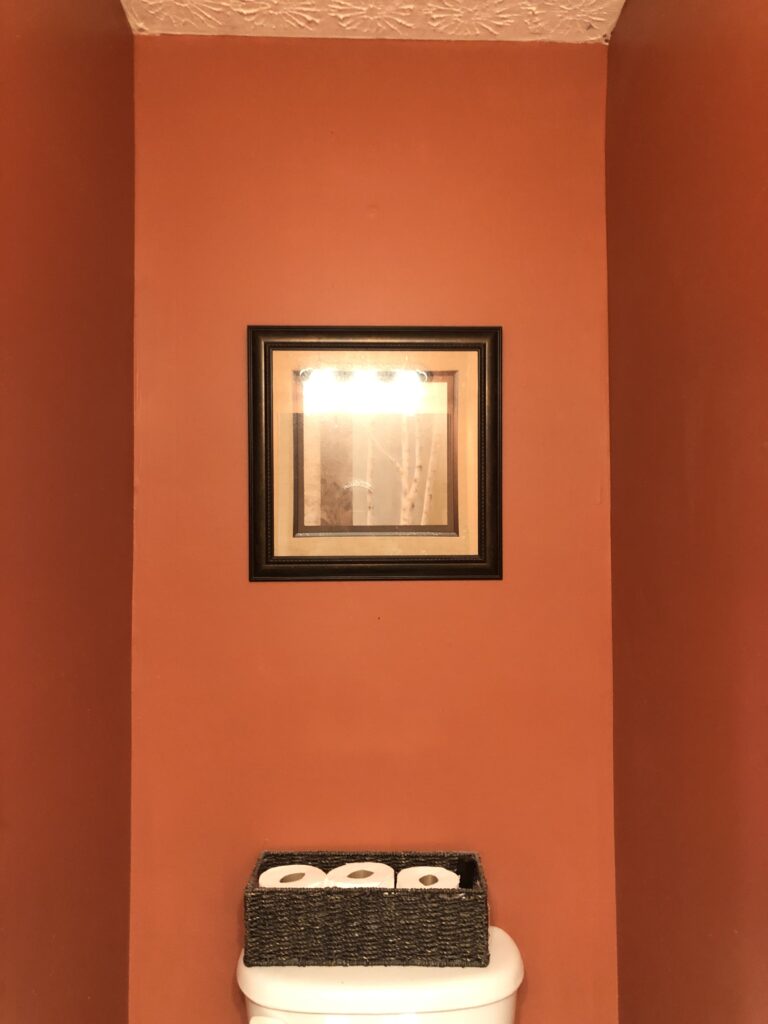
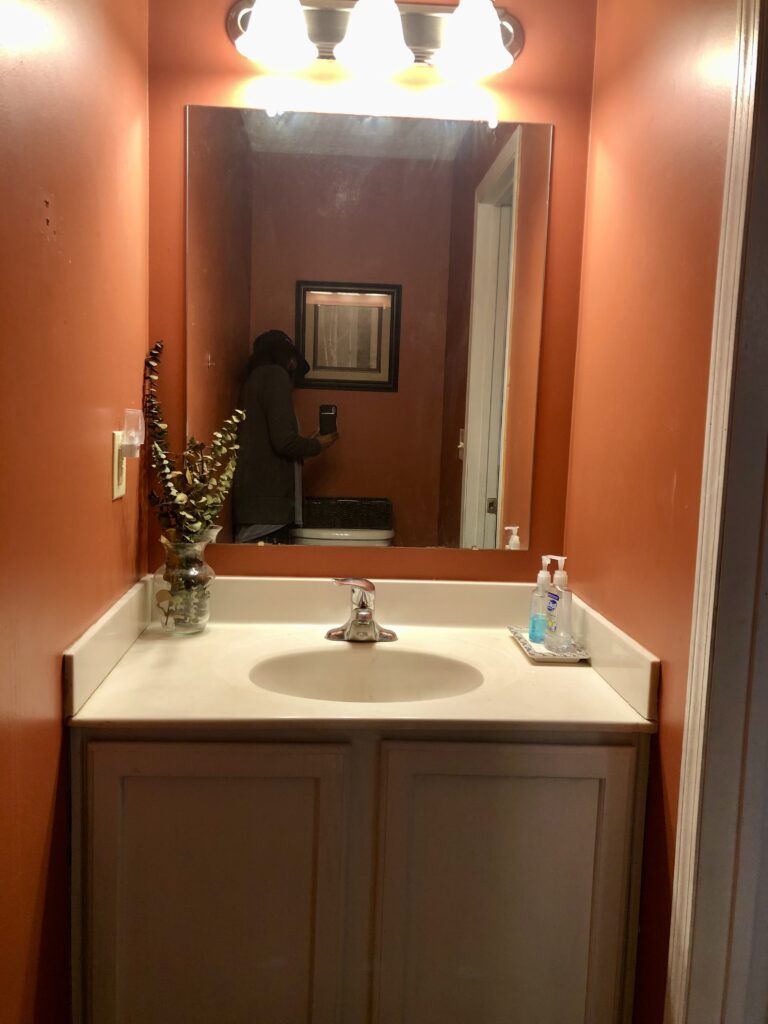
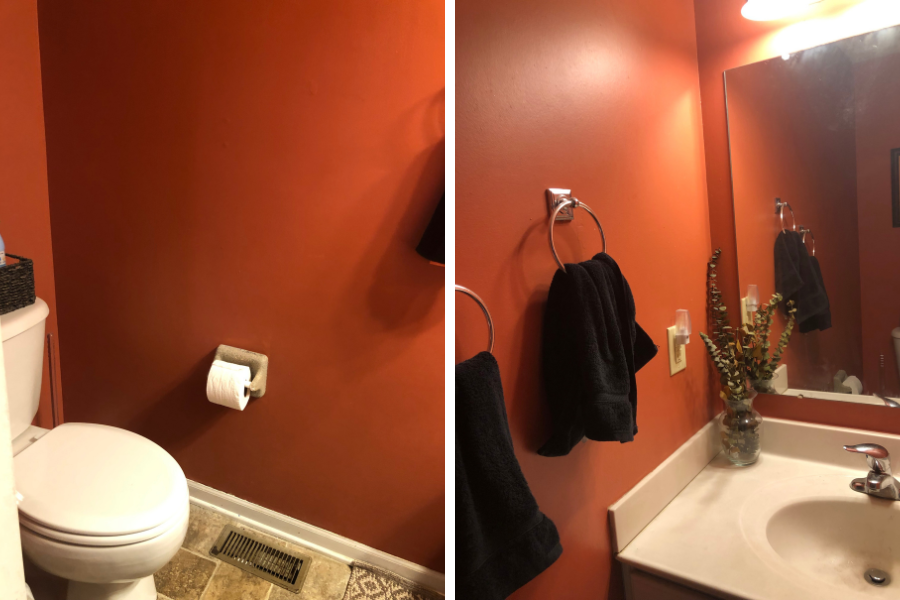
Moving on. So possibly in an effort to get out of the 70’s I went the complete opposite direction and chose a burnt orange color that I really liked for our first small bathroom makeover. Fortunately my husband liked the color too. This color was a little ambitious, but for us it worked. That was probably also the case for the prior owners who loved the dusty yellowish/beige-ish builder beige. To each their own.
We didn’t really do anything to this bathroom other than change the color and add a couple of pictures. But again, since we had a lot to do we were at minimum glad to see the dull color gone.
That is a lot of orange to have to look at. It worked in the bathroom, but even I’m a bit overcome looking at it on the screen. So I’ll minimize the remainder.
{Another Post: The Beginning of Everything}
A Change Of Color Can Make All The Difference
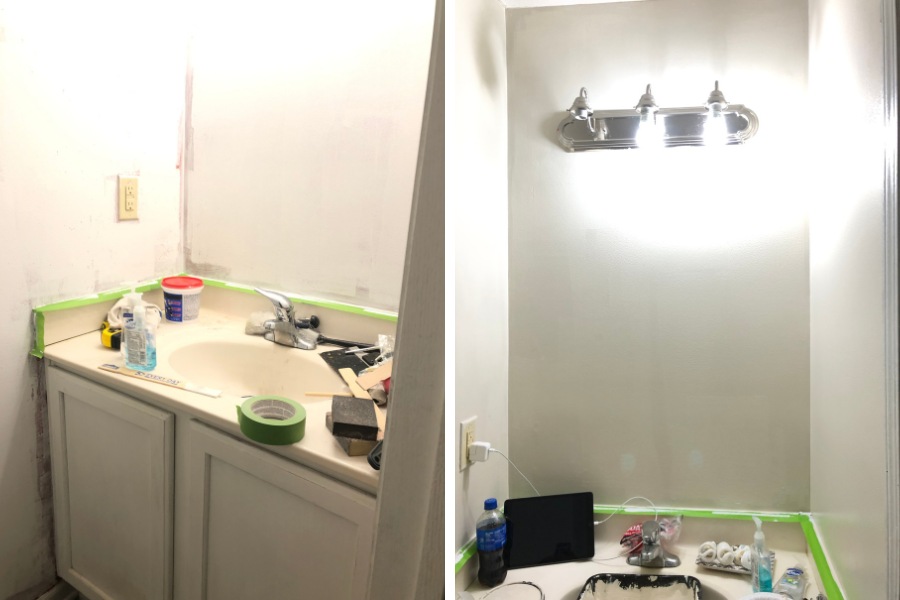
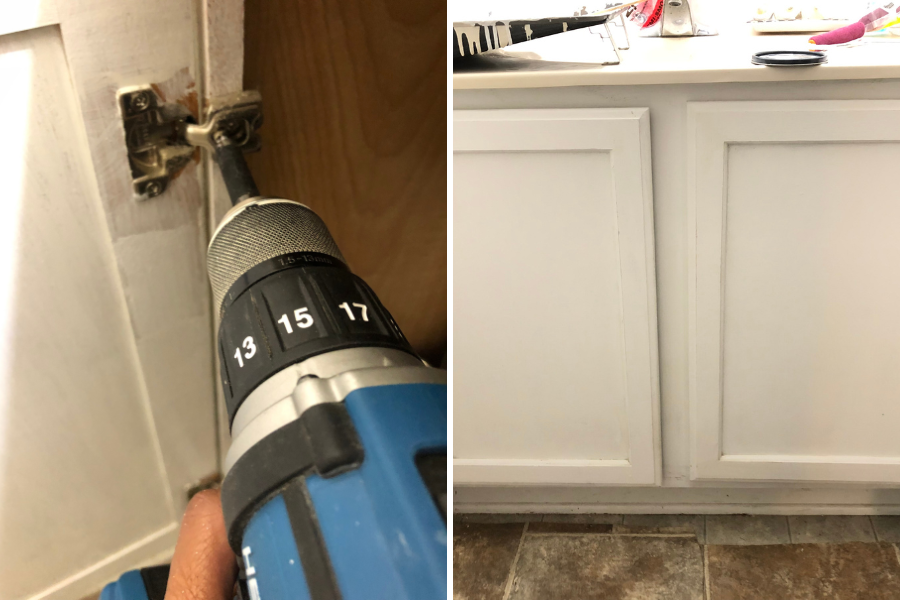
So as you can see we didn’t do much. It’s a pretty basic space. However, as time went on and life began to change, I was ready for a new look. lets just say I tackled this small bathroom makeover in no good particular order. I primed, I painted, I removed the cabinet doors because I wanted to change from white painted cabinets to blue.
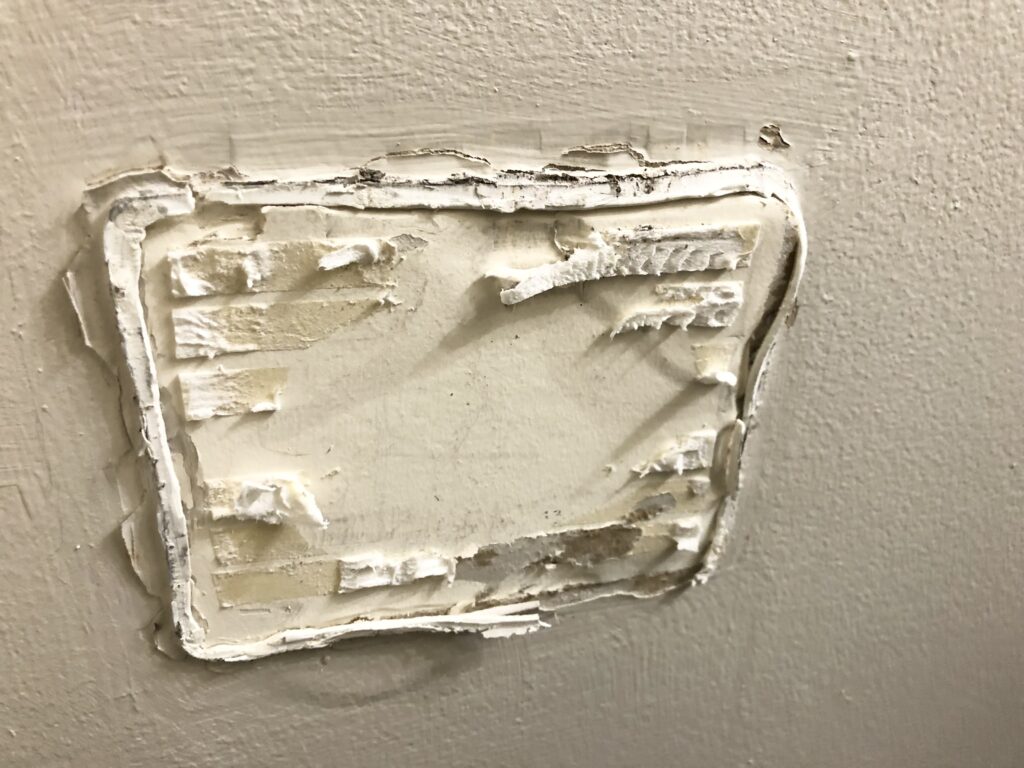
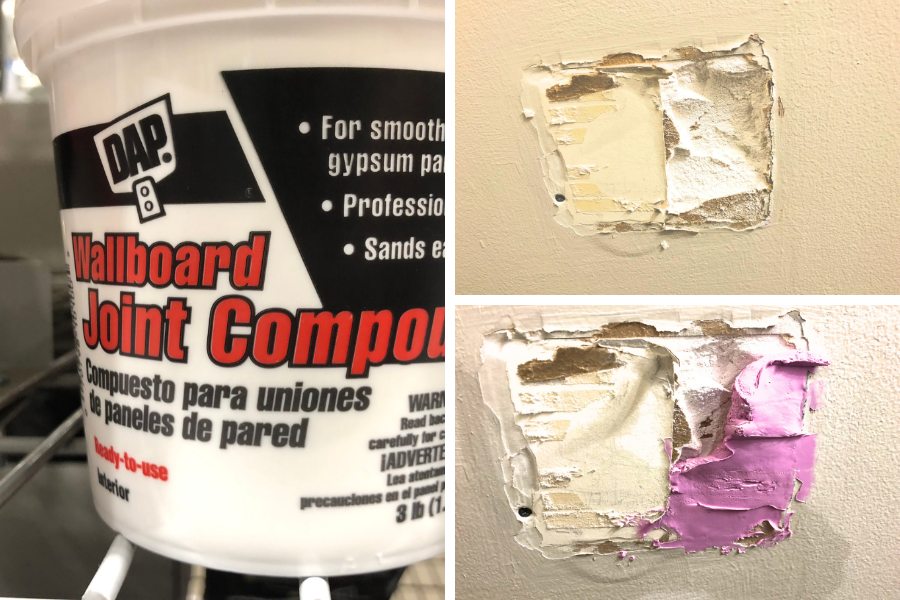
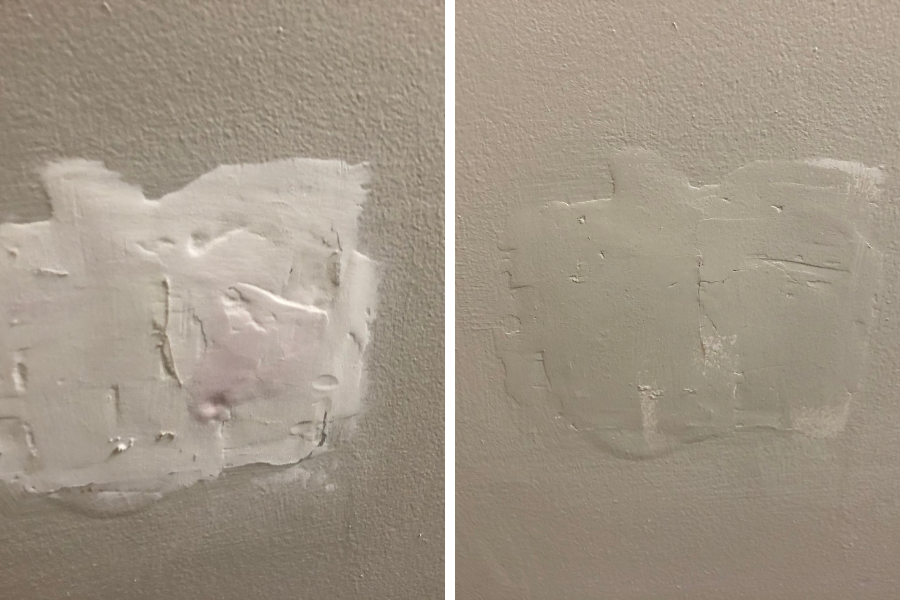
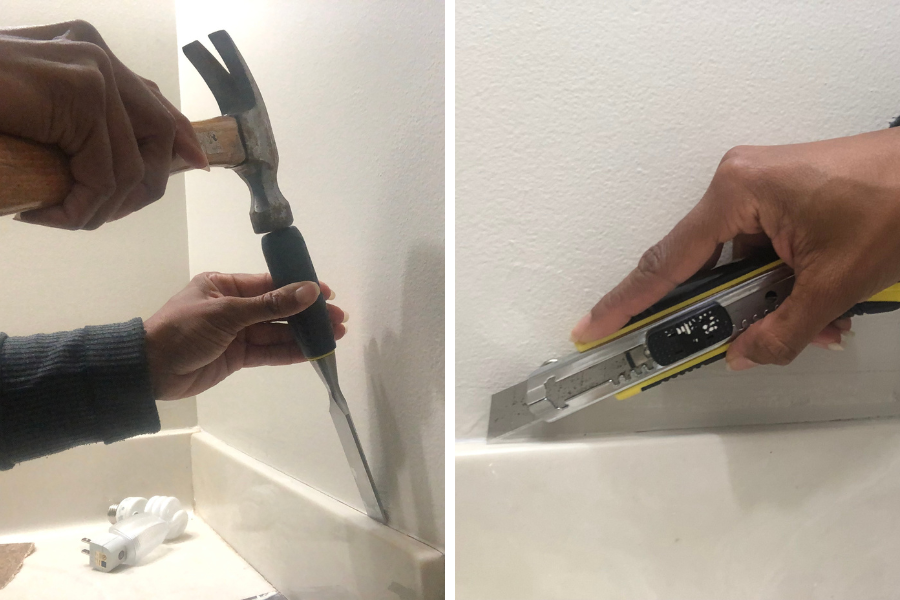
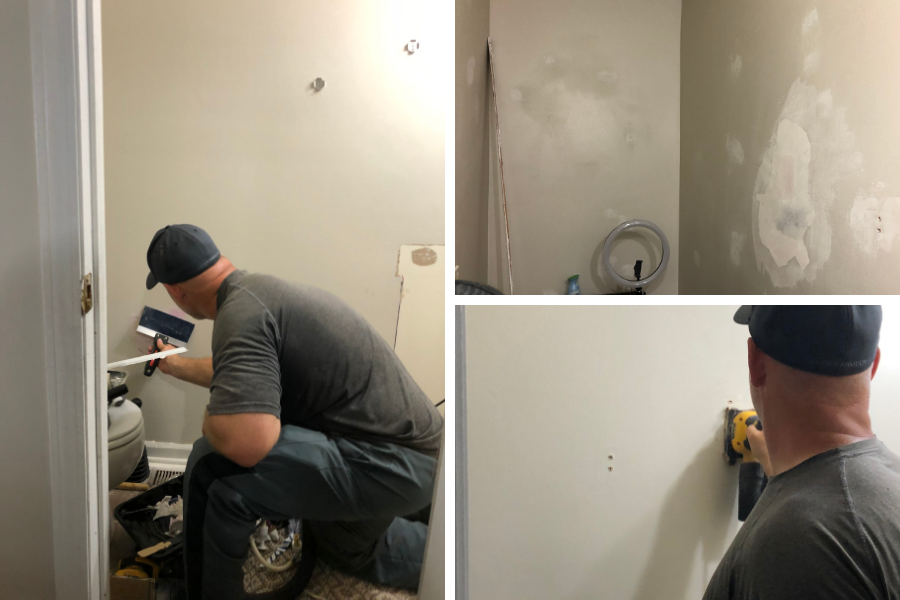
Then this hideous tissue holder caused me all kinds of issues. After finally prying it off of the wall using a chisel thing and a hammer, I did a rather bad sanding and mud job to cover it up.
That tissue holder battled me! A complete nightmare.
Challenges Are Inevitable
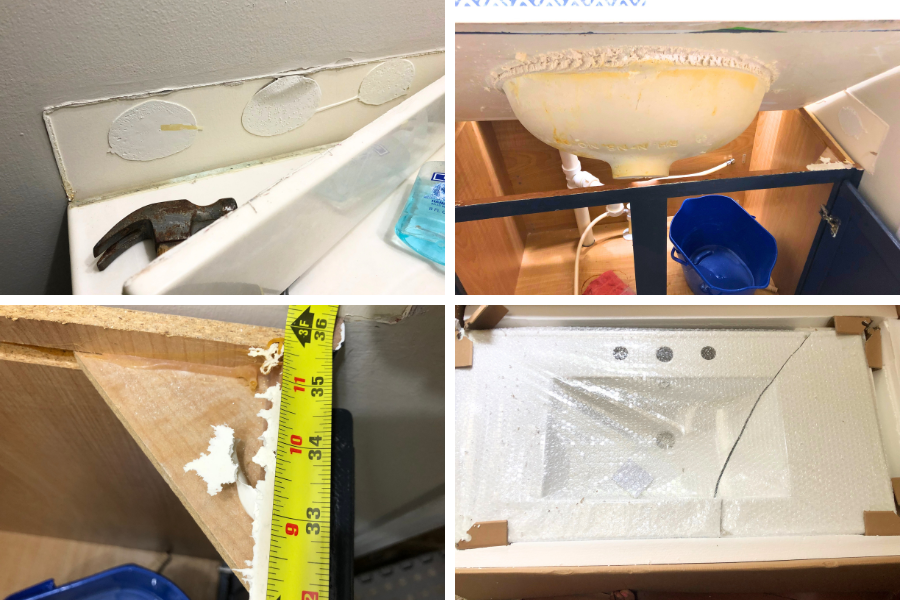
Clearly I struggled with this little section. I obviously had to go back even after this photo. So after this temporary fail I proceeded to move on. My next step was to remove all of the piping and side splashes so that I could remove the vanity which was crucial for my small bathroom makeover. The sink was severely scratched up and caked with old paint.
My goal was to paint the cabinet blue and just replace the top. Little did I know that would not be as easy as I thought.
Once the pipes were detached, I removed the side splash, measured the vanity top and then removed it. That’s when I realized that I mistakenly ordered an 18×36 inch vanity top instead of a 24x 36, and it was broken…bummer.
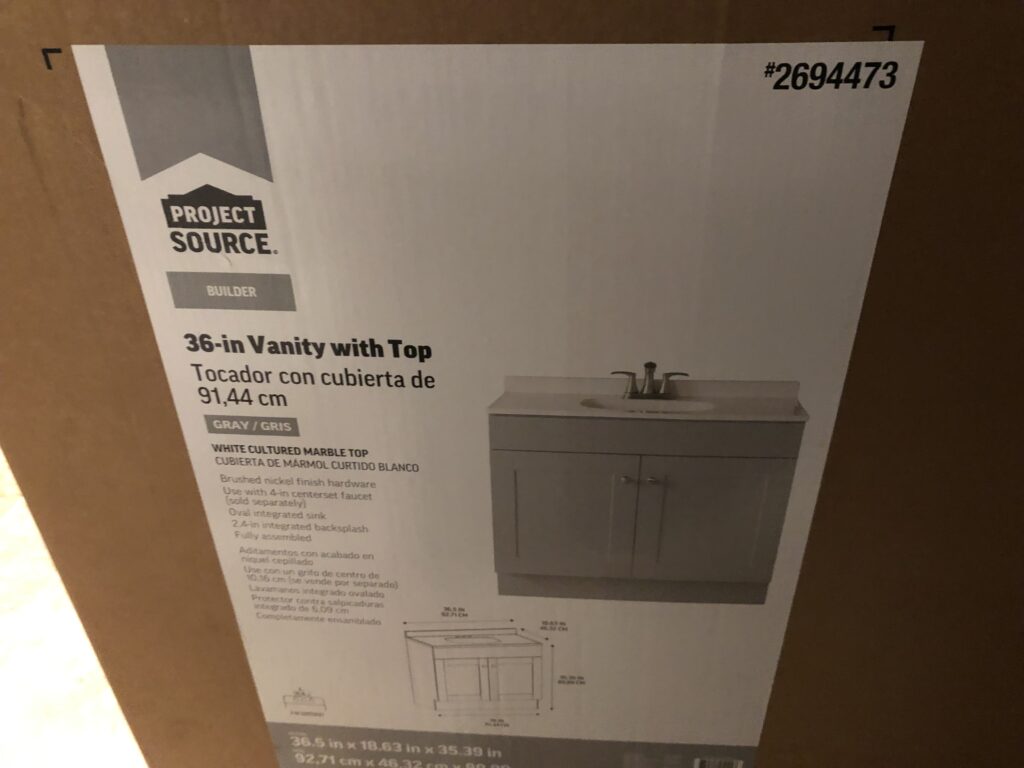
Furthermore, to add insult to injury, apparently they do not make separate vanity tops in the dimensions that I needed. The 24×36 vanity tops only come attached to the cabinet. To get the size I needed, I would have to buy a larger one and get it cut down. It was cheaper to purchase an entirely new cabinet with an attached vanity top.
So this purchase meant a couple of things. I’ll have to paint it to the color that I want (it’s gray) and I also need to call in reinforcements, because the old cabinet needs to be removed and the new one needs to be put around the ground plumbing.
Mr. Reinforcement (AKA my brother-in-law) helped to ensure that the vanity top fit appropriately. It was rather snug so he sanded the corners. I was waiting for it to snap in half because it was so tight! Fortunately all went well. I was so grateful.
After the sink was fully in place Mr. Reinforcement taught me all about how to reattach the piping, and he offered to try to fix a few of my paint flaws.
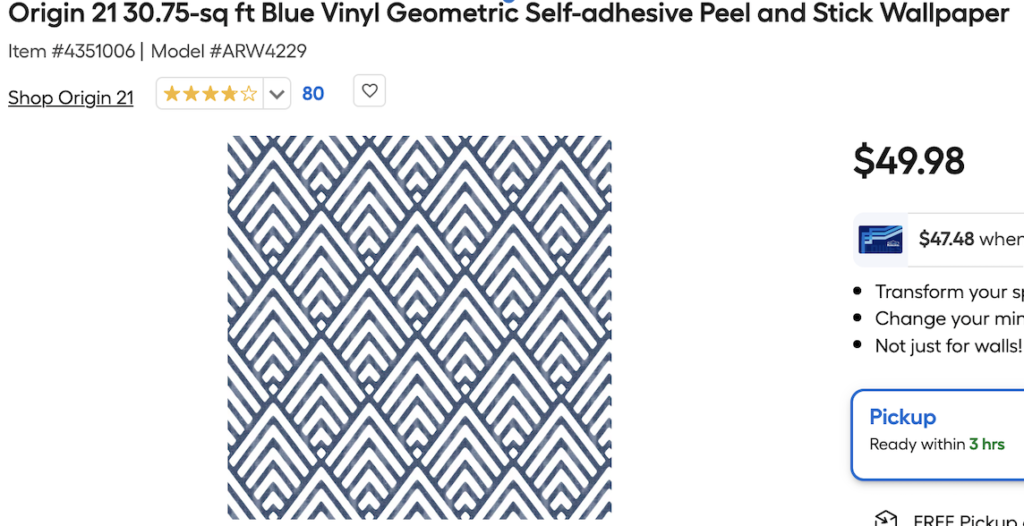
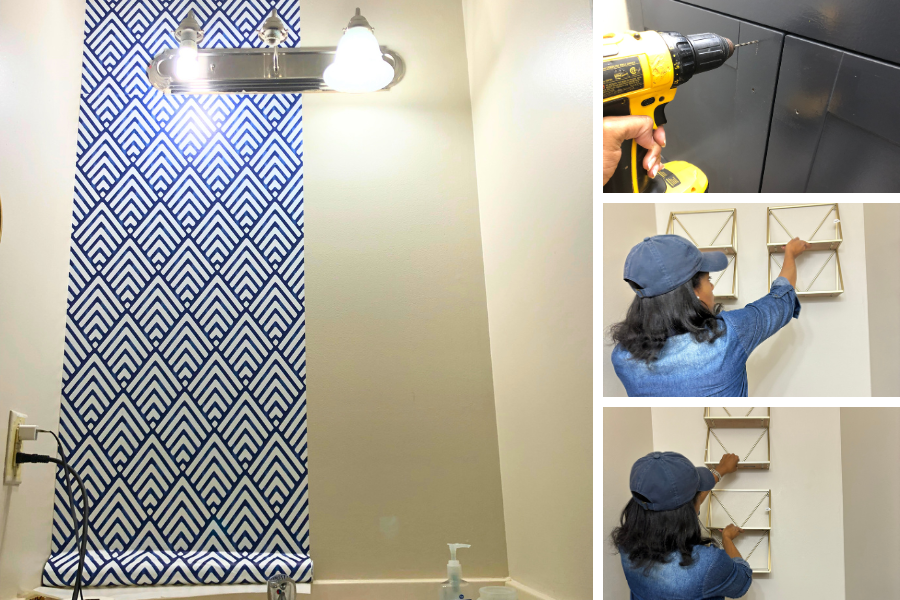
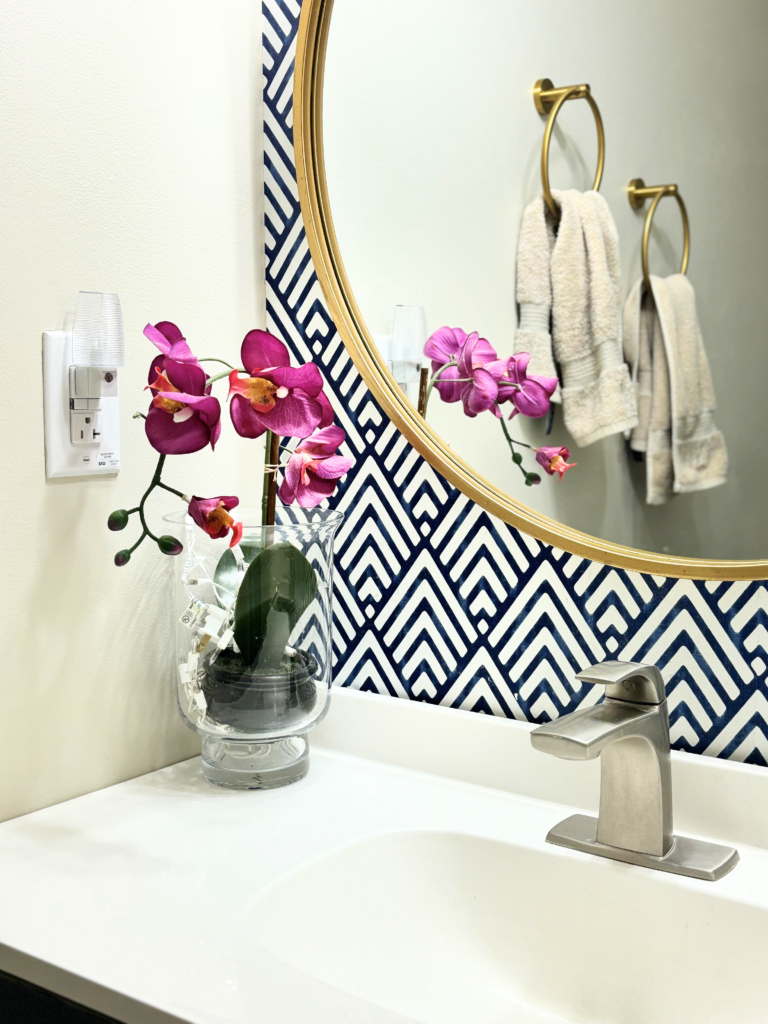
I could finally get back to completing my small bathroom makeover. First was to purchase this pretty geometric wallpaper from Lowes.
Purchasing The Decor
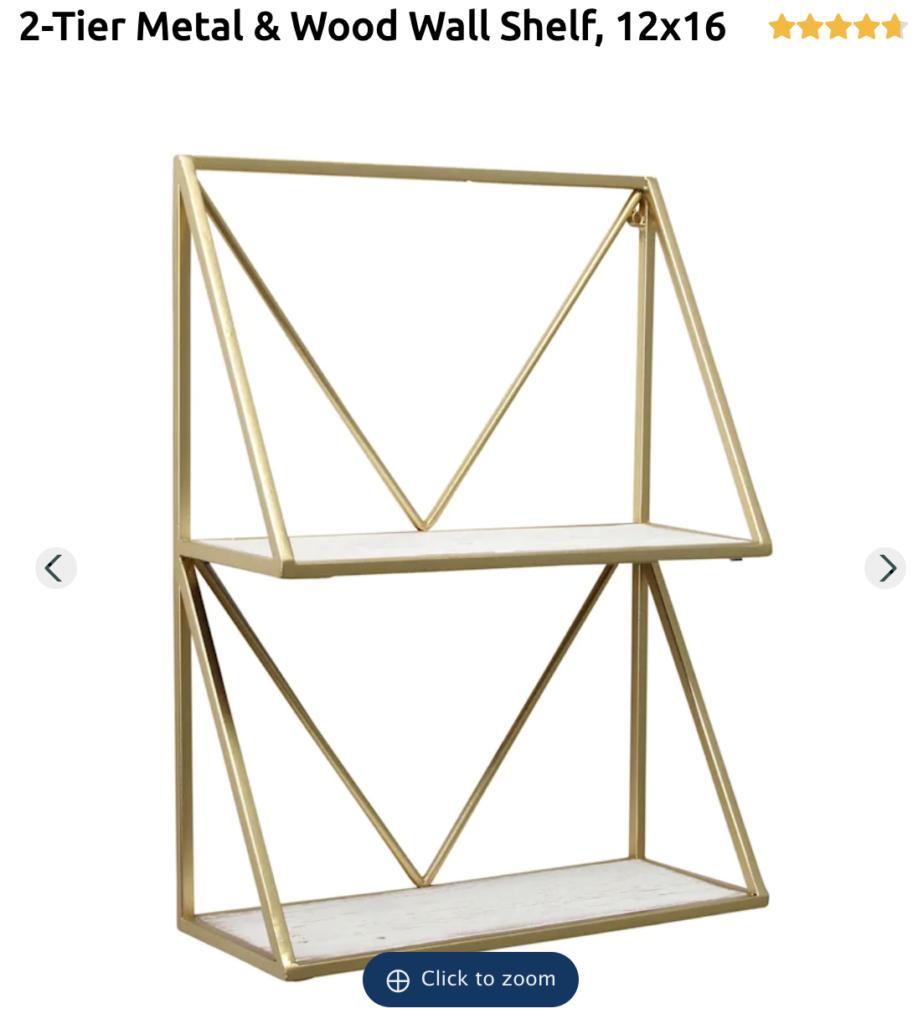
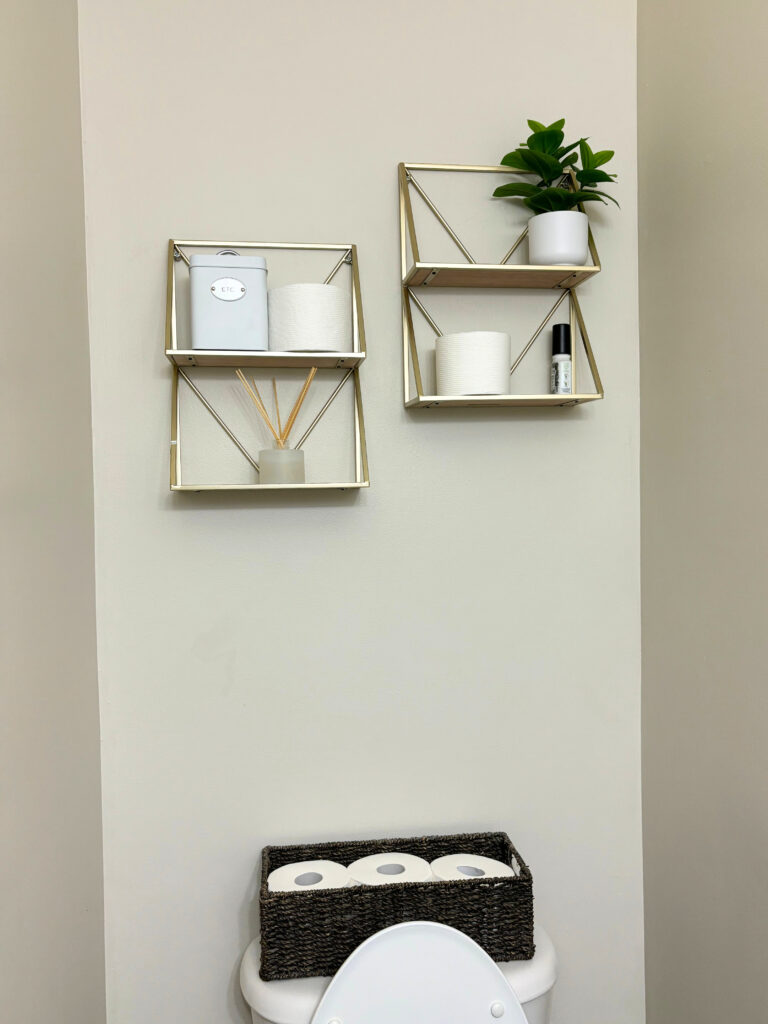
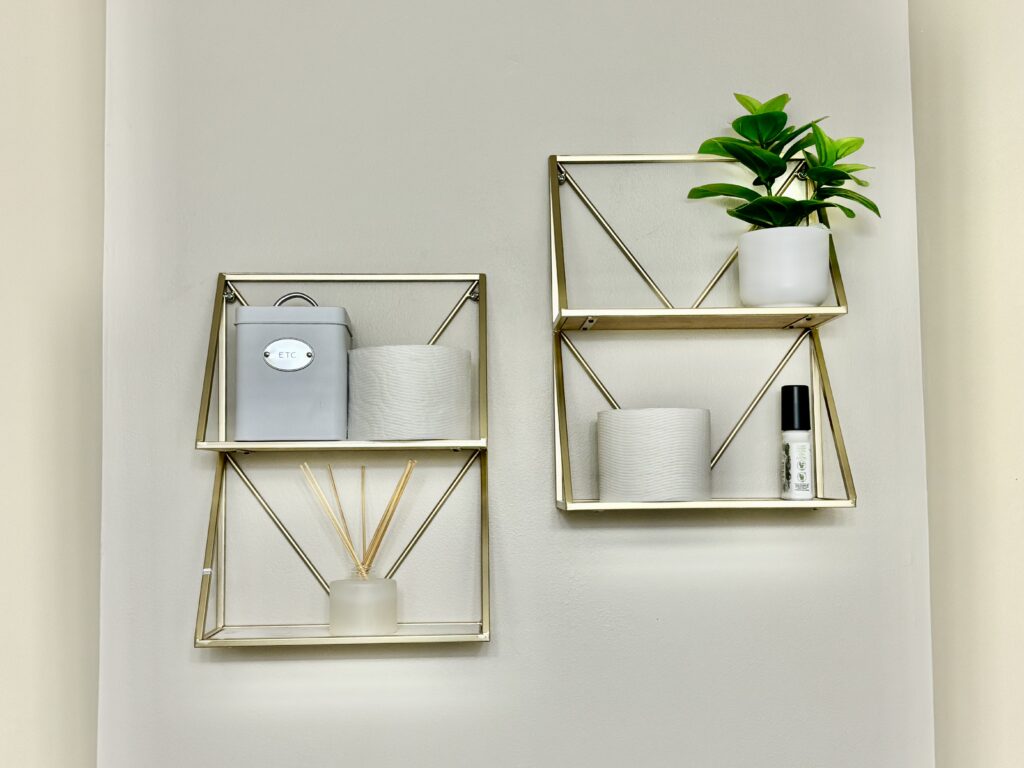
This lovely little shelf along with some extra little decorative elements from one of my favorite stores At Home. That store is truly my happy place. Well, there, Target and the Container Store.
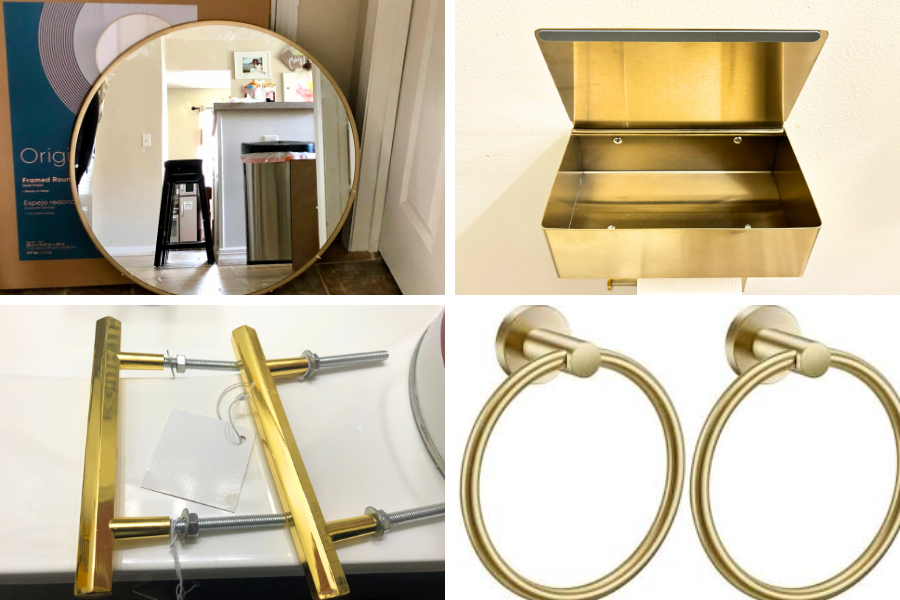
I ordered a gold mirror from At Home, some golden cabinet pulls from Hobby Lobby, some brass towel hooks and a tissue holder from Amazon that worked beautifully and hid the flaw remaining from the prior tissue holder, and I proceeded to finish the tiny space.
Putting up wallpaper is certainly not an easy job when working around a light fixture. One might suggest taking it down, but since I did not know quite how to do that with the wiring I just worked around it the best way that I could.
I think the after is quite a refreshing change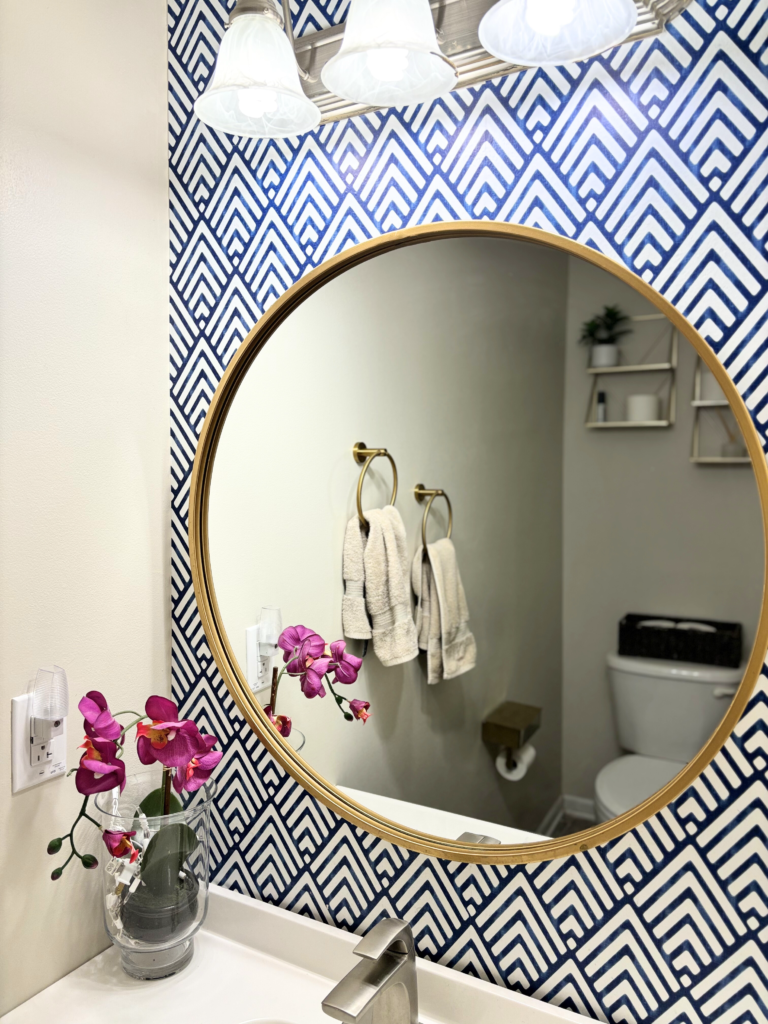
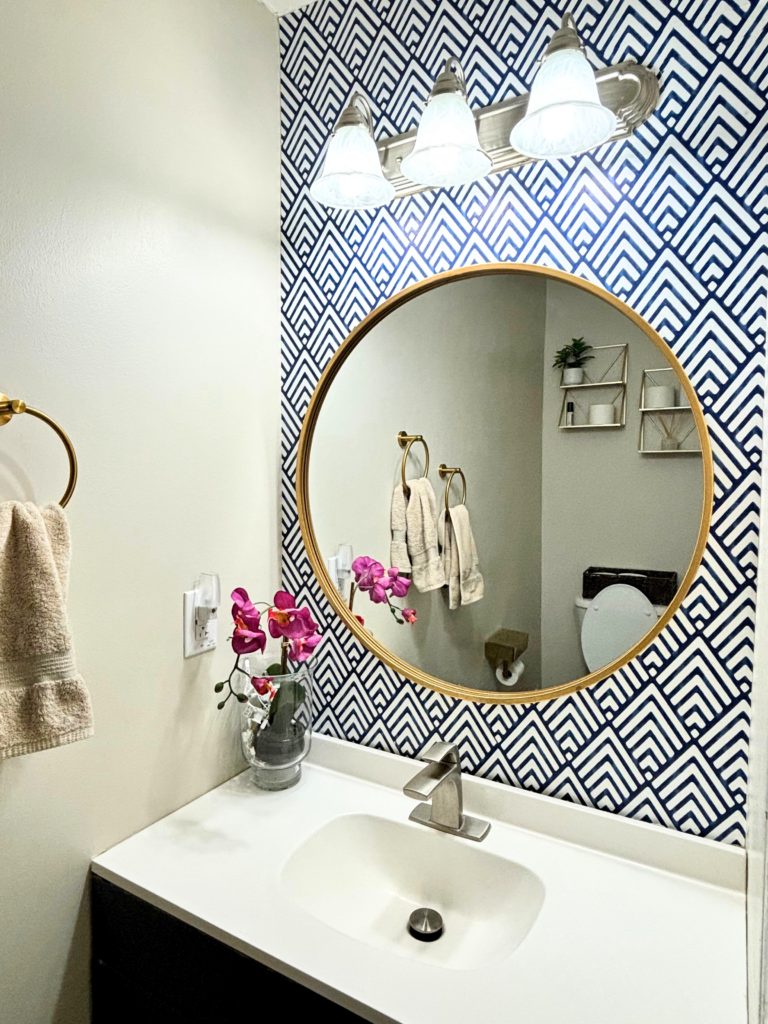
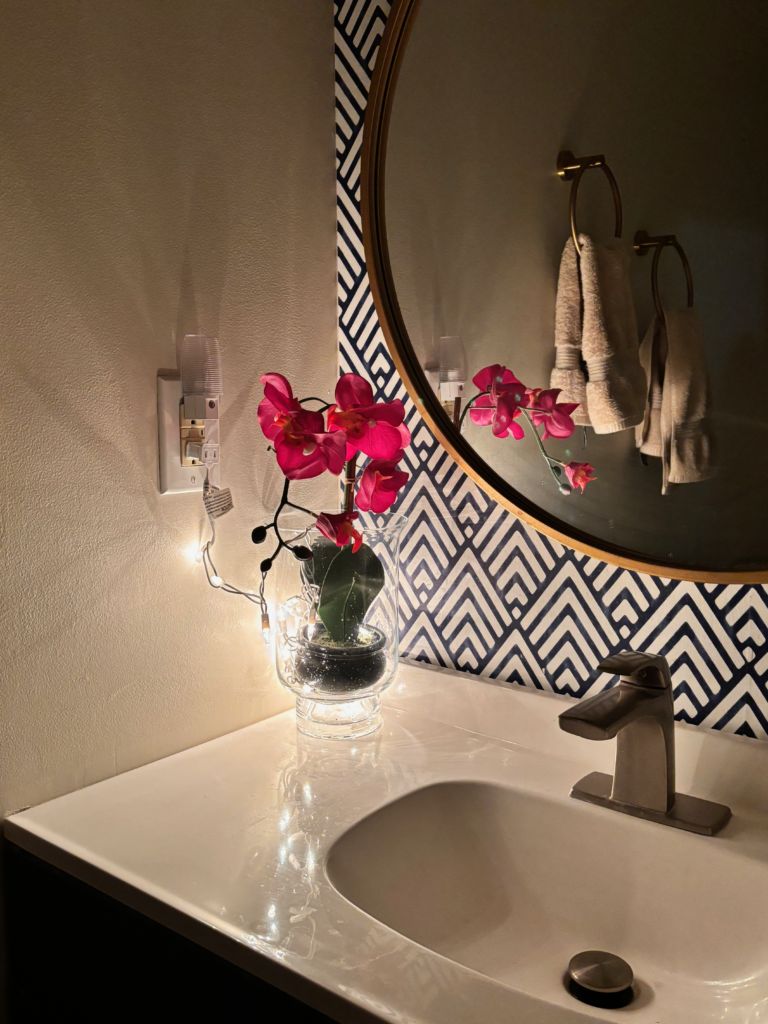
And it’s even prettier at night
This post was all about how to do a small bathroom makeover


Leave a Reply