
Flashing back to this coat closet makeover makes me want to makeover all the closets in the house. This was a fun project that I worked on some years back. This closet drove me absolutely batty.
I’m sure many of you out there have a coat closet, right? A closet that you must look at everyday when you come home because that is where you put your bags, coats etc. For all of you mudroom challenged peeps out there like myself, I’m sure your coat closets are very organized. I try to ensure that everything has its own little place in the home.
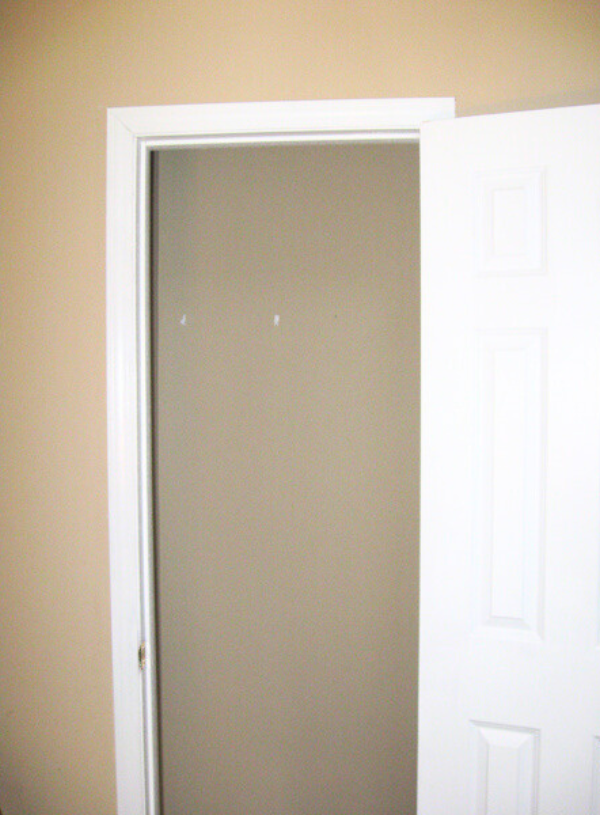
So yeah, about the coat closet. Take a look, isn’t it just adorable?
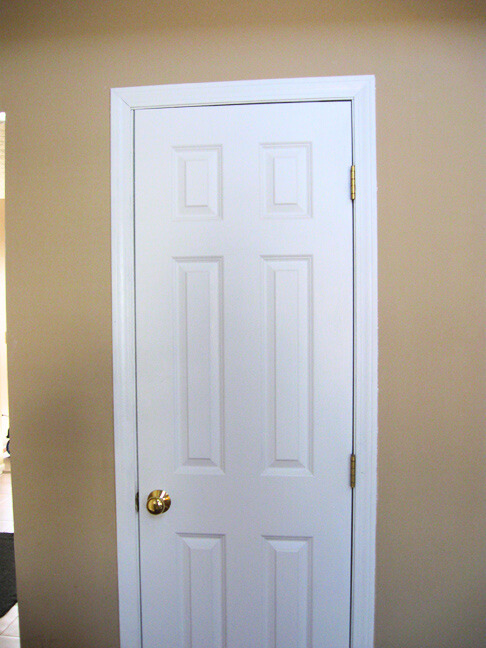
Such a basic little coat closet, with an unsightly brass doorknob. One day I’ll tackle those. When I look at this closet it looks simple, innocent. Just existing doing what closets do, I like it that way.
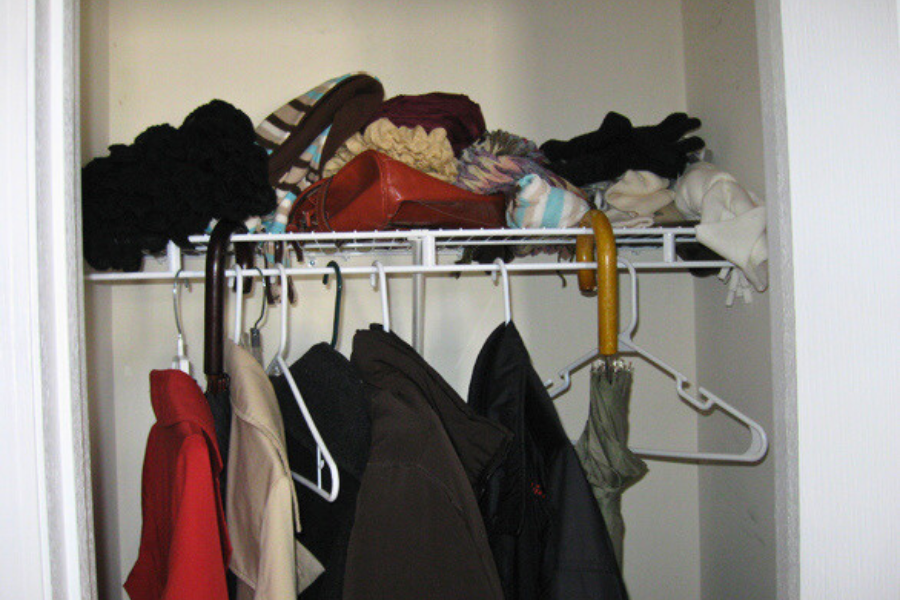
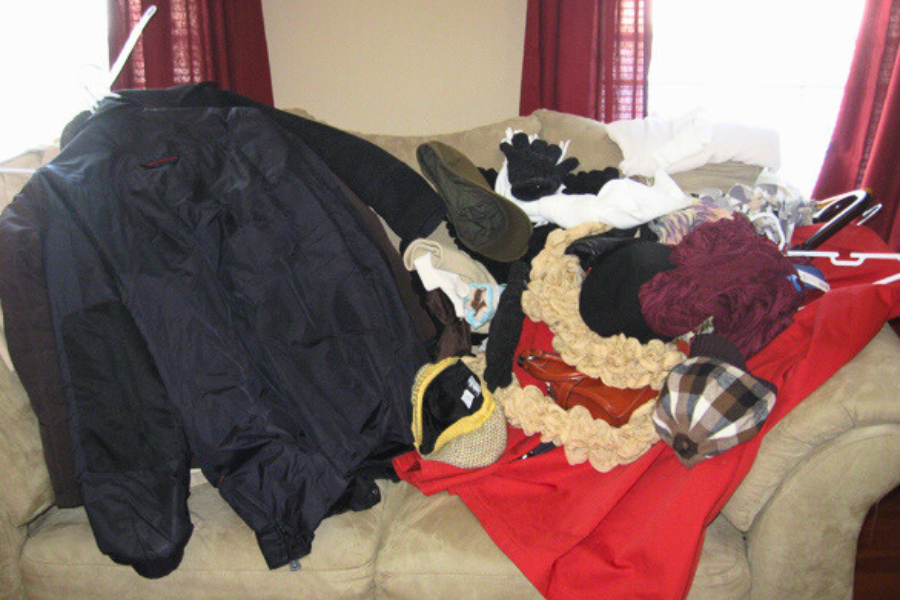
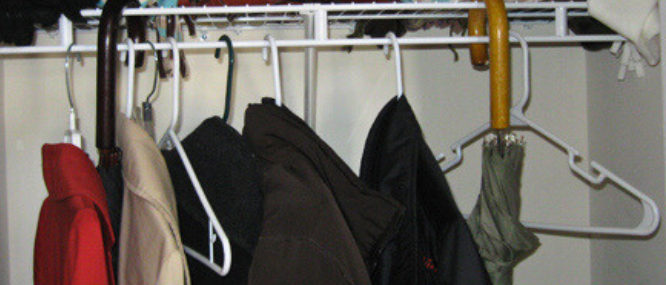
When the door is opened all you see is a space that needs help. The space is unorganized with underutilized vertical space that I MUST find a purpose for. There were random scarves, gloves, hats and bags. The chaos and the mismatched hangers are entirely unsightly. Everyday this closet drove me mad. Making this closet something that I don’t mind seeing when I come home was my goal. I wanted it to be something that I love! Well, it will be my inexpensive DIY, work with what you have and try to spend little money version. First things first, take out all of the stuff.
Another Post You Might Like:{Small Bathroom Makeover}
Coat Closet Purge
The main goal of this small coat closet makeover was overall aesthetic. I wanted it to make sense and look pretty. Now one might think, what’s the big deal, it’s just a closet. However, if you have to look at it everyday it should be tolerable, particularly if it’s stressing out my eyes. Not long prior to tackling this assignment I stumbled on the idea of painted wallpaper by a company called Jones Design Company. I printed out the template and decided I’d give it a go.

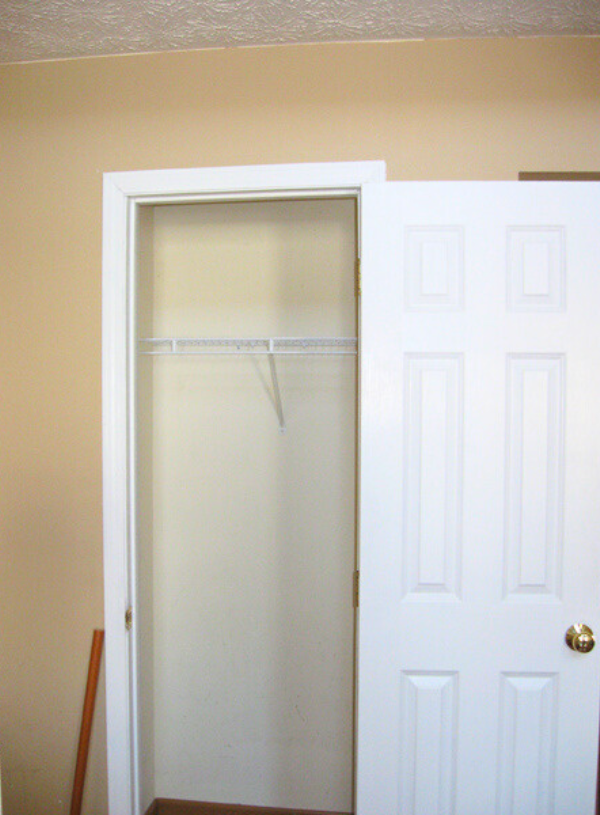
Preparing The Closet
I first removed the single shelf from the closet in order to have a blank canvas. I then painted the closet to match the color of the room at the time.
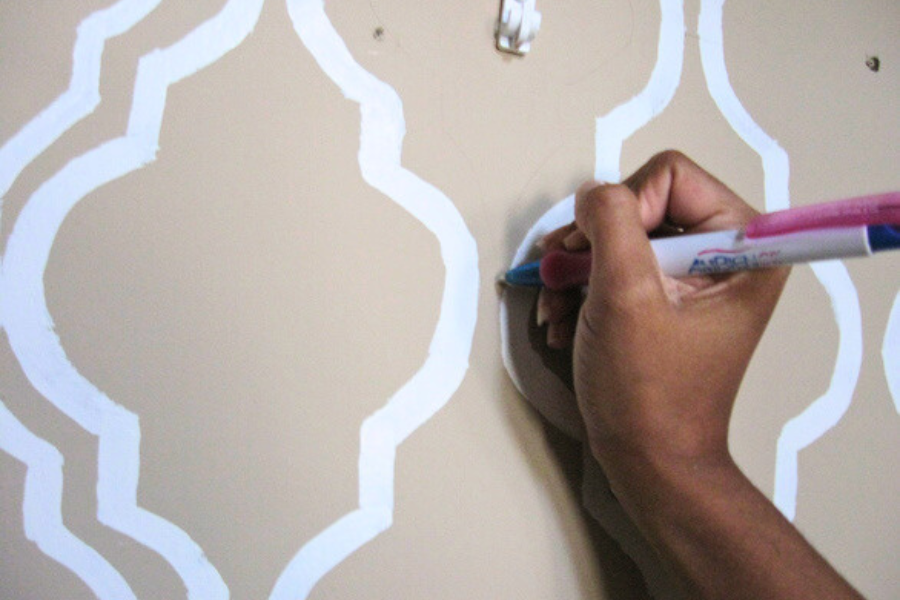
Next it was time for the stencil, which I decided to do in white paint since we always seem to have it on hand. I was entirely nervous about this project but since we were new to our fixer upper of a home I figured I’d give it a shot. Since this was prior to us having kids, I had the perfect uninterrupted time to focus. I began to trace the stencil with a pen and then I gathered a couple of small paint brushes. Once the pen marks were down I proceeded to trace over the pen with the white paint. Here is how it looked 11 hours later.
Halfway through this pattern I was so excited at how it looked. I soon realized that I had done something wrong. Turns out there was supposed to be a double trace situation that I somehow left out. My dilemma was do I try to correct it, or just leave it as I’d began. Mind you, I’d be free-handing the smaller shape with the shapes presently painted. After looking at what the template was actually supposed to be, I decided to take the chance. The worse that could happen is that I mess up and break down into a puddle of tears and throw paint across the room and break things🤬🤷🏽♀️.
Ok, now that wouldn’t really happen! I’d just have to paint over and restart, but I REALLY didn’t want to do that. It was worth giving it a try, so I jumped in!

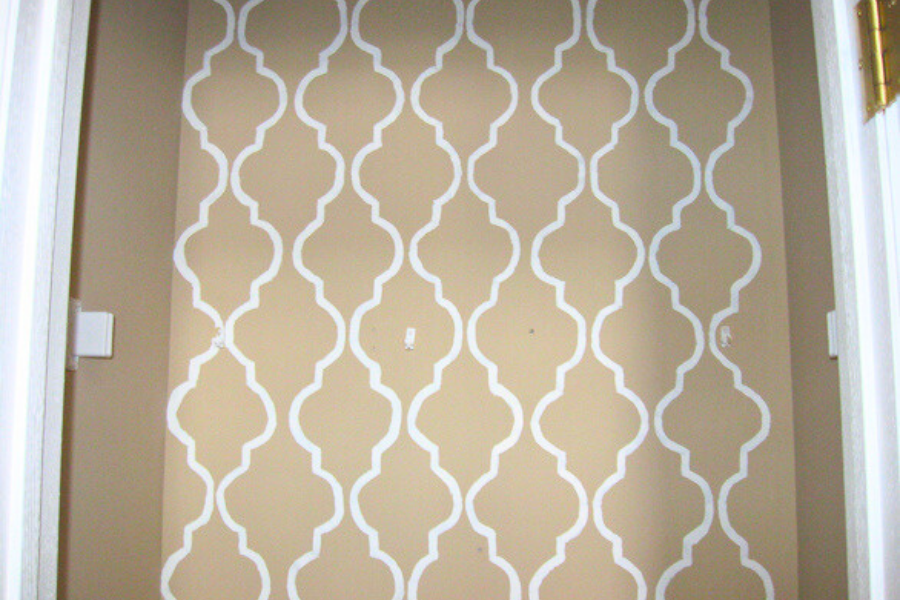
Finishing The Coat Closet
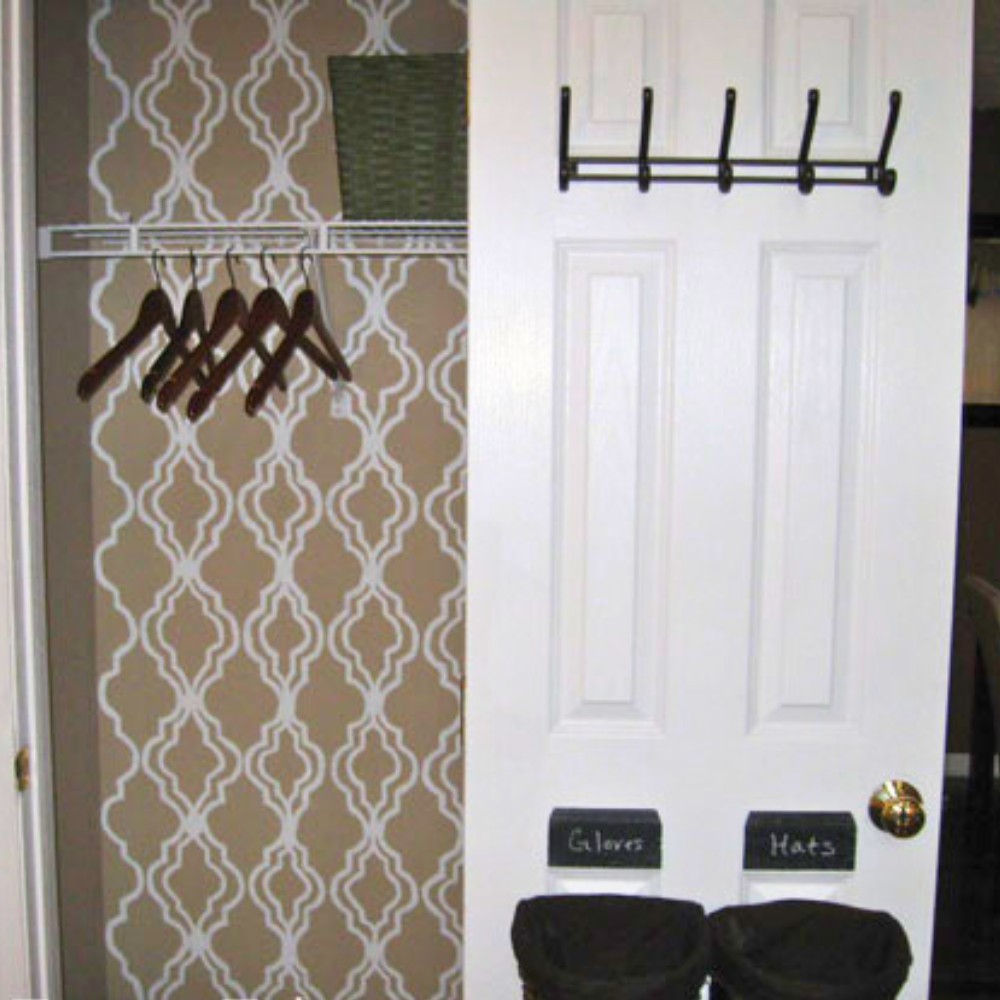
And it’s done!! I think it looks pretty good overall. If you look closely it looks a little bit shoddy sooooo maybe don’t look too close. Or do! Either way we were happy. Now that I’d gone this far, it is kind of a funny idea to put this much effort into a coat closet makeover. I did put that hideous shelf back up. Many years later I learned a cool inexpensive trick to hide the ugly thing. You can check that out here.
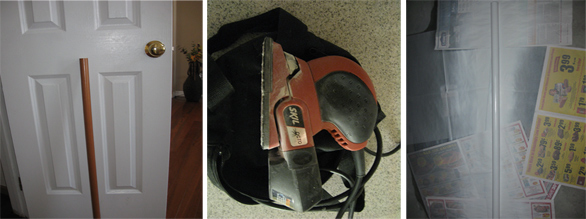
From there I grabbed a rod that we already had, sanded it to size and then spray painted it white
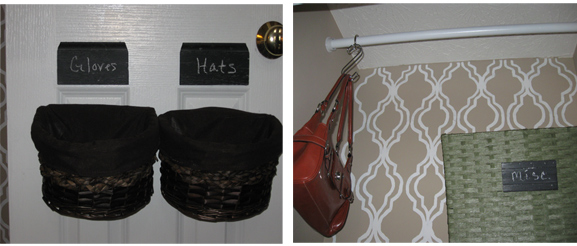
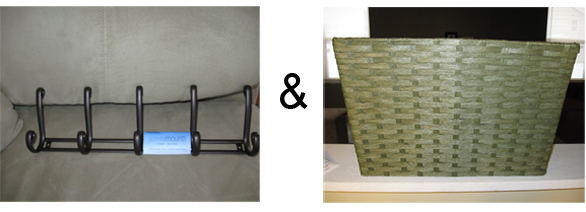
I purchased a couple baskets and a coat hook. an O-ring and an S shaped thing to make good use of the vertical space. I quickly realized that I didn’t quite conquer the vertical space mission like I’d hoped. However, being a newbie to this whole ‘make a house a home with DIY’ process I gave myself grace with this coat closet makeover. I’ve since learned! I even used leftover pieces of molding cut to size and chalk paint to create little signs. Not fancy, but it worked for me. I still do this! No shame here.
With the coat closet being almost finished, there was one more thing that was necessary for it to be complete. Remember the sad plastic hangers?
So in an effort to finish the closet I couldn’t keep these annoying mismatched hangers could I? Absolutely not. Off to purchase hangers I go. Now, if you know anything about me, you know that I have a major shopping problem. I simply do not like to shop, but wanted decent hangers and I found these beauties:
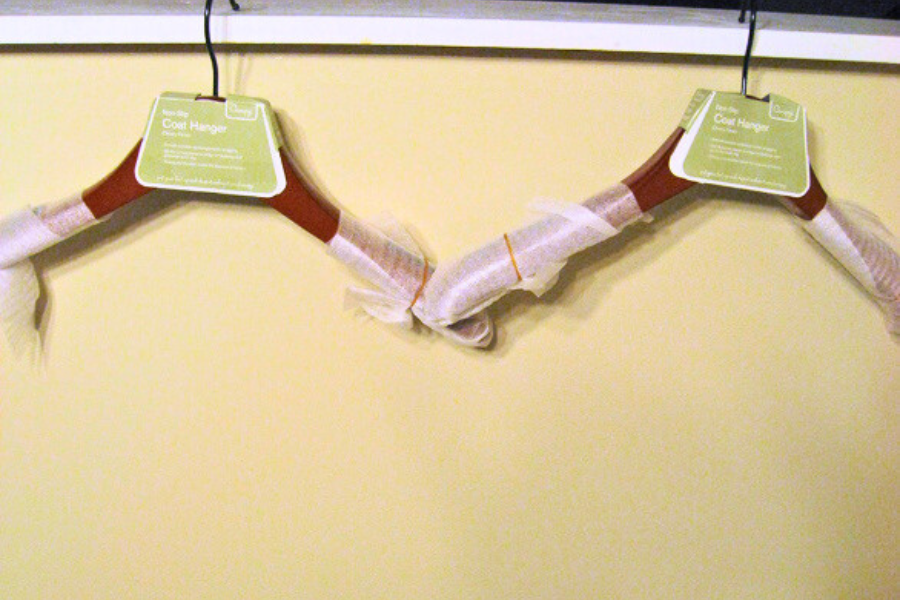
Nonslip hangers with a cherry finish. Way better than those easy to snap plastic ones. You only see two hangers here for this reason:
I hesitated a bit on the purchase but thought THESE are the hangers that I wanted, right? Every step toward the checkout was met with a bout of trepidation that lingered all the way home. When I got home I let the hangers dangle there as I walked passed them over and over again in absolute shock that I spent $9.00 on TWO hangers!! At Walmart at that, everything there is supposed to be cheap! It wasn’t shortly after I took this photo that I began to hyperventilate.
What in the world was I thinking?! I mean did I really need ‘coat’ hangers? I know it’s a coat closet but it functioned just as well with cheap mismatched plastic hangers. OH MY! I spent $9.00 on two stupid hangers. I am queen frugal and everything about this just did not feel right. Abort Abort!!!! First thing that next morning I went back to right my wrong and regain my bearings. I marched back into that crazy fancy high end Walmart store, held up those hangers and yelled I will not be taken advantage of. I will not let the perfect cherry coat closet hangers control me! You’re Walmart, not Target! Your hangers should be $2.00 each! I said that with a look that let them know I meant business. And then I hurled those hangers back to where I got them from!
OK, none of that actually happened that way, but as I politely returned them to the service desk I felt THAT powerfull!!!
Anyway, I then walked back to the hanger section and downgraded from coat hangers to shirt hangers. What do you think?
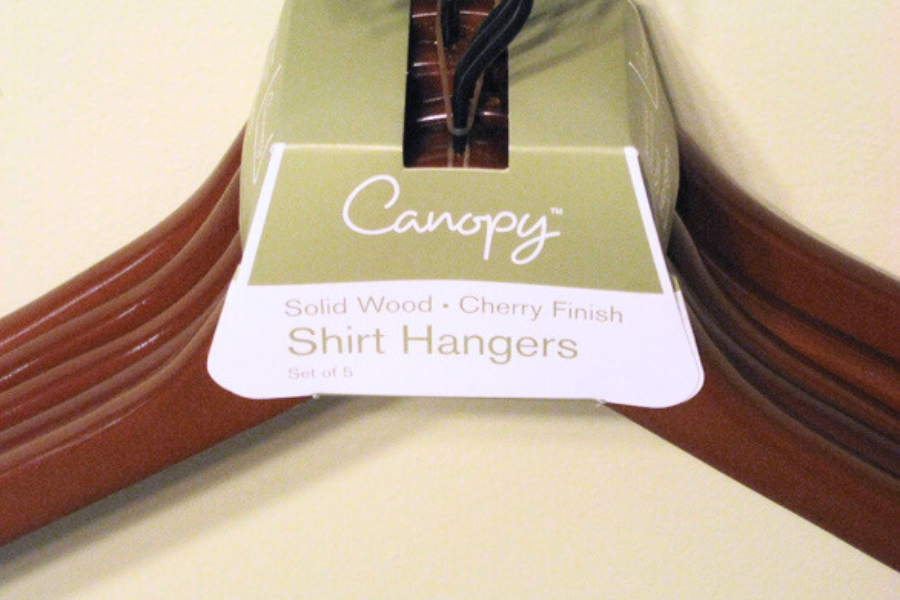
I think these will work mighty fine. After all they are an upgrade from what I had in the closet. Did you notice that it’s a set of five? Yep and how about this receipt:
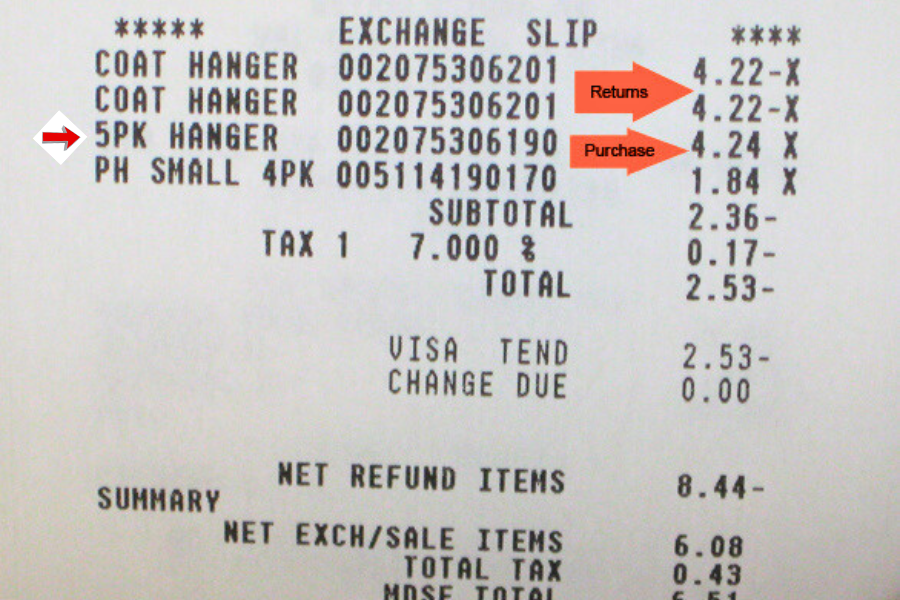
$4.24 for a pack of 5, I’ll take it! Now, I realize that in the grand scheme of things $9.00 is next to nothing, but I’d still rather shop smart.
Finally I was all done.
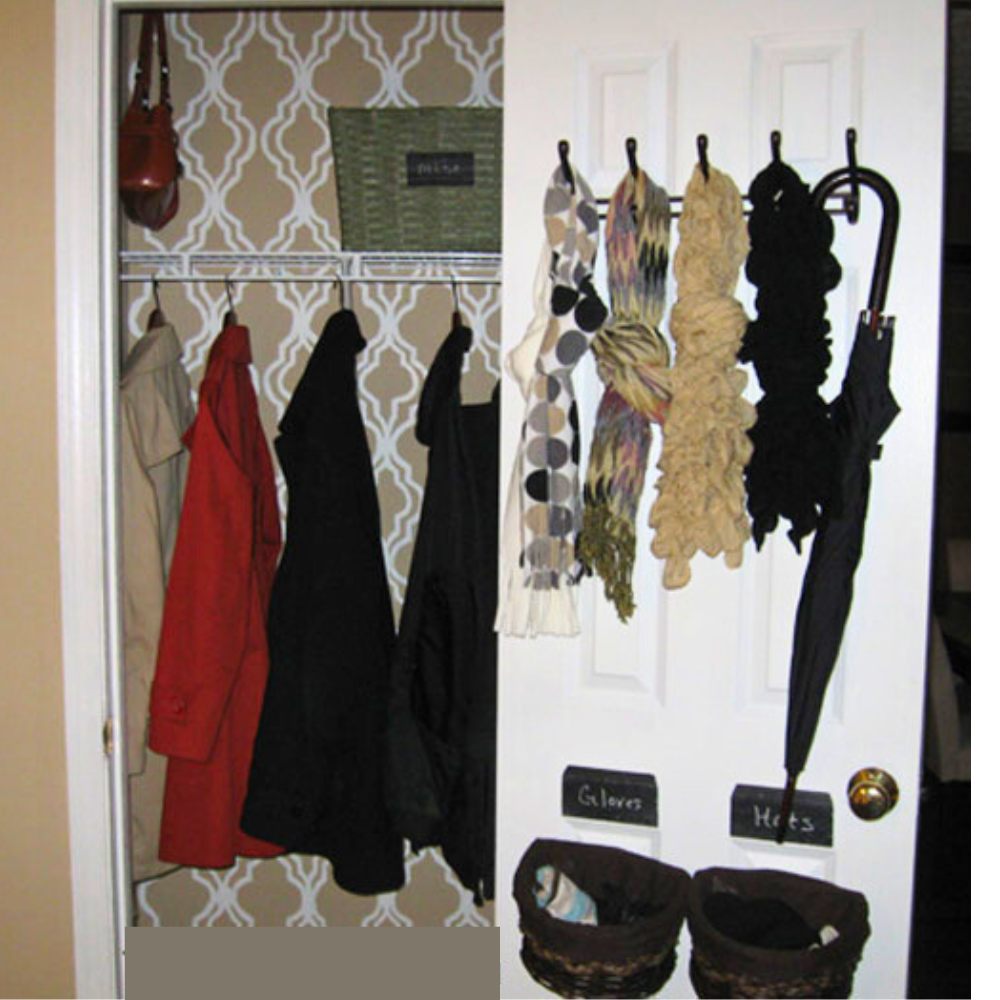
Now I smile when I get home and hang up my coat. Oh the joy of unexpected simple little pleasures.


Leave a Reply